5 min read
I wrote this article using the Hashnode API! Here's how...

In case you didn't know, Hashnode has it's own GraphQL API! @Catalin Pit wrote a great article about how you can use the API to display your published articles on your own website. However, the API can do so much more than this, such as following a user, creating an article, commenting on an article, and more! For full details, Hashnode have kindly set up documentation and a playground to test the API here: https://api.hashnode.com/.
Today we will focus on how I used the Hashnode API to create this article. To do so I created a small Vue application as a front end to interact with the Hashnode API. If you are only interesting in how the GraphQL client works, I suggest skipping forward to the section called 'Creating the Hashnode API client'.
Creating the Vue application
First I used the Vue CLI to create a new Vue project (selecting the default Vue 2 options) and add the required additional packages to the project.
vue create hashnode-api-poster

cd ./hashnode-api-poster

vue add router
vue add vuex
vue add vuetify

yarn add vee-validate
Here the router is used to navigate between different pages, Vuex manages the state of the application, Vuetify is a UI framework, and VeeValidate provides an easy way to validate forms.
We will start with the Vuex store. In this application, we will use the store to keep track of the user's API key and publication ID, both of which are needed to create an article using the API. We'll discuss how to find this for your own blog later.
// store/index.js

import Vue from 'vue'
import Vuex from 'vuex'

Vue.use(Vuex)

export default new Vuex.Store({
  state: {
    apiKey: '',
    publicationId: '',
  },
  mutations: {
    apiKey(state, newApiKey){
      state.apiKey = newApiKey
    },
    publicationId(state, newPublicationId) {
      state.publicationId = newPublicationId
    }
  },
  actions: {
    login({ commit }, { apiKey, publicationId }) {
      commit('apiKey', apiKey)
      commit('publicationId', publicationId)
    },
    logout({ commit }) {
      commit('apiKey', '')
      commit('publicationId', '')
    }
  },
  getters: {
    isLoggedIn(state) {
      return !!state.apiKey && !!state.publicationId
    }
  }
})
The store is split up into state, mutations, actions, and getters. The state is the actual values we want to store - in this case, the API key and publication ID. Next, mutations change the value of a piece of state. Actions are used here to create a login and a logout command. For the login command, it takes an object containing the API key and publication ID, and saves those to the store. The logout command simply clears the state. Finally, the isLoggedIn getter is used to report that the user is logged in when both the API key and publication ID are set.
Next we'll move on to the App.vue file. This file acts as the entrypoint of a Vue application, and is most commonly used as a layout file.
// App.vue

<template>
  <v-app>
    <v-app-bar app flat color="blue accent-4" v-if="isLoggedIn">
      <v-spacer />
      <v-btn outlined color="white" @click="logout">
        Logout
      </v-btn>
    </v-app-bar>

    <v-main>
      <router-view/>
    </v-main>
  </v-app>
</template>

<script>
export default {
  computed: {
    isLoggedIn() {
      return this.$store.getters.isLoggedIn
    }
  },
  methods: {
    logout() {
      this.$store.dispatch('logout')
      this.$router.push({ name: 'Login' })
    }
  }
}
</script>
Here out layout is rather simple. We first have an app bar (v-app-bar) that is conditionally rendered only when we are logged in (which is calculated using the getter we just set up in the store). This bar contains a logout button that, when clicked, triggers the logout action in the store. It also redirects us to the login page, which we will create shortly. Lastly, the current page is rendered in the view (router-view).
Next we'll move on to the login page. Because this view is a little more complex, we'll split it into a Login Form component (components/LoginForm.vue) and then the main login page (views/Login.vue).
// components/LoginForm.vue

<template>
  <validation-observer v-slot="{ invalid }">
    <v-form @submit.prevent="submit">
      <v-card>
        <v-card-text>
          <validation-provider v-slot="{ errors }" name="API Key" rules="required">
            <v-text-field v-model="apiKey" label="API Key" :error-messages="errors" required />
          </validation-provider>

          <validation-provider v-slot="{ errors }" name="Publication ID" rules="required">
            <v-text-field v-model="publicationId" label="Publication ID" :error-messages="errors" required />
          </validation-provider>
        </v-card-text>
        <v-card-actions>
          <v-btn type="submit" block :disabled="invalid" outlined color="blue accent-4">
            Login
          </v-btn>
        </v-card-actions>
      </v-card>
    </v-form>
  </validation-observer>
</template>

<script>
import { required } from 'vee-validate/dist/rules'
import { ValidationObserver, ValidationProvider, extend } from 'vee-validate'

extend('required', { ...required })

export default {
  components: {
    ValidationObserver,
    ValidationProvider,
  },
  data() {
    return {
      apiKey: '',
      publicationId: '',
    }
  },
  methods: {
    submit() {
      let loginRequest = { apiKey: this.apiKey, publicationId: this.publicationId }
      this.$store.dispatch('login', loginRequest)
      this.$router.push({ name: 'Home' })
    }
  }
}
</script>
Although it looks like there's a lot going on here, this is actually a simple form containing textboxes for the API key and publication ID. The whole form (v-form) is wrapped in a Validation Observer (validation-observer) from VeeValidate. All this does is observe whether or not the form is valid - if it is invalid then the invalid property will be set to true.
Each text box (v-text-field) is wrapped in a Validation Provider (validation-provider). This determines whether or not that field is valid, using the rules property. In this case, we are simply using the built in required rule, which just checks if we have entered some text. VeeValidate can be used to make much more complex rules if necessary.
Finally, we have the submit button, which is only enabled when both fields are filled in (using that invalid property from the observer). It then uses the store login action to set the API key and publication ID in the store, and redirects us to the home page (which we will also create shortly).
The main login page imports this login form and positions it in the centre of the screen.
// views/Login.vue

<template>
  <v-container fluid class="fill-height blue accent-4">
    <v-row align="center">
      <v-col sm="6" offset-sm="3" md="4" offset-md="4">
        <login-form />
      </v-col>
    </v-row>
  </v-container>
</template>

<script>
import LoginForm from '@/components/LoginForm'

export default {
  components: {
    LoginForm,
  },
}
</script>
To make it so that we can see this login page, we need to set up the router. All we are doing here is setting which Vue page to render for which URL. In this case, /login will render the login page.
// router/index.js

import Vue from 'vue'
import VueRouter from 'vue-router'
import Login from '@/views/Login'
import store from '@/store'

Vue.use(VueRouter)

const routes = [
  {
    path: '/login',
    name: 'Login',
    component: Login
  },
]

const router = new VueRouter({
  mode: 'history',
  base: process.env.BASE_URL,
  routes
})

router.beforeEach((to, from, next) => {
  let { isLoggedIn } = store.getters

  if(to.name !== 'Login' && !isLoggedIn) next({ name: 'Login' })
  else next()
})

export default router
The router.beforeEach function is important as it will check if the user is logged in before navigating. If they are not logged in, then they will be redirected to the login page.
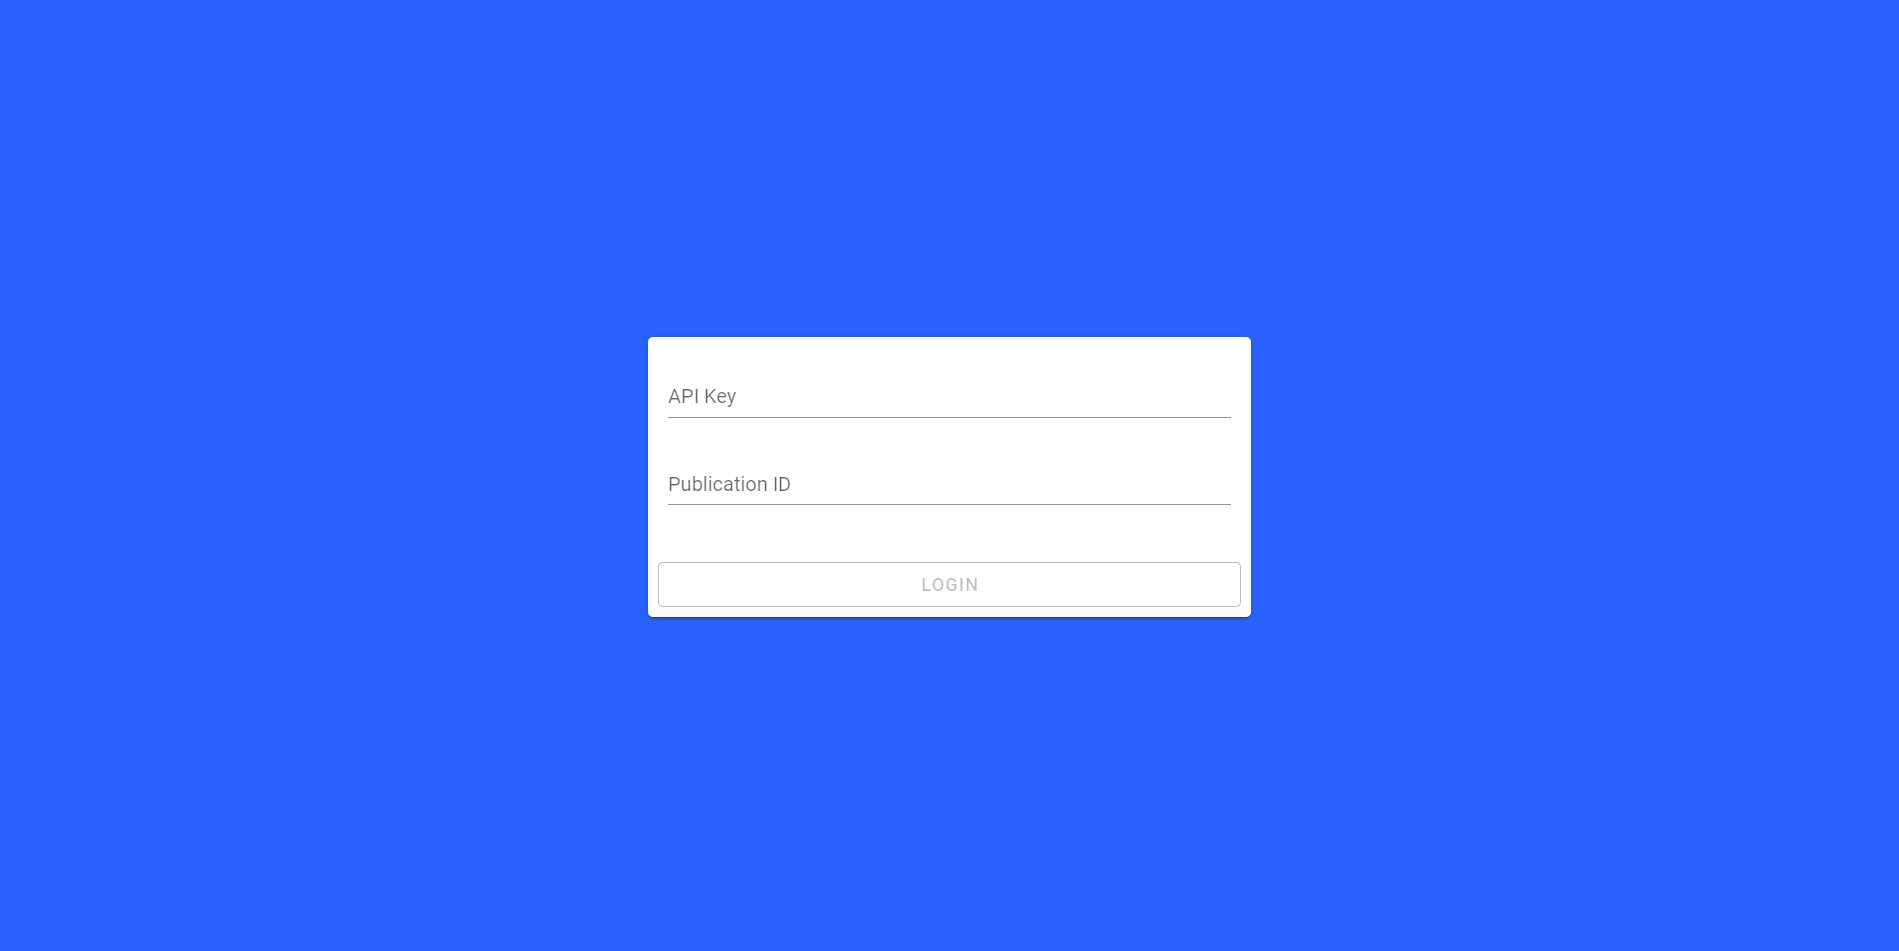
If we run the project and navigate to /login, we should now see the following page. Note that the submit button wont work yet as the home page doesn't exist.
We will construct the home page in a similar way, with the Story Form component (components/StoryForm.vue) containing the form to submit an article, and the Home view (views/Home.vue) acting as a container for this form.
// components/StoryForm.vue

<template>
  <validation-observer v-slot="{ invalid }">
    <v-form @submit.prevent="submit">
      <validation-provider v-slot="{ errors }" name="Title" rules="required">
        <v-text-field v-model="title" label="Title" :error-messages="errors" required />
      </validation-provider>

      <validation-provider v-slot="{ errors }" name="Content" rules="required">
        <v-textarea v-model="content" label="Content" :error-messages="errors" rows="20" auto-grow required />
      </validation-provider>

      <v-btn type="submit" block outlined color="blue accent-4" :disabled="invalid" :loading="isSubmitting">
        Submit
      </v-btn>
      <small class="red--text" v-if="errors">{{ errors }}</small>
    </v-form>
  </validation-observer>
</template>

<script>
import { required } from 'vee-validate/dist/rules'
import { ValidationObserver, ValidationProvider, extend } from 'vee-validate'
import hashnodeApi from '@/hashnode-api'

extend('required', { ...required })

export default {
  components: {
    ValidationObserver,
    ValidationProvider,
  },
  data() {
    return {
      title: '',
      content: '',
      isSubmitting: false,
      errors: '',
    }
  },
  methods: {
    async submit() {
      this.errors = ''
      this.isSubmitting = true

      try {
        await hashnodeApi.createStory(this.title, this.content)
        this.$router.push({ name: 'Success' })
      } catch (err) {
        this.errors = err
      } finally {
        this.isSubmitting = false
      }
    }
  }
}
</script>
Similar to the login form, we have two fields here, each with validation providers to ensure they are filled in. These will set the title and Markdown content of the article we are writing. When we submit the form, the title and content are passed to the Hashnode API client (which we will cover in detail shortly) to create the story. Since this is an asynchronous request, we have a isSubmitting flag that shows a loading spinner in the submit button while the request is processing. Since the Hashnode API may returns errors, we also capture these in the errors property and display them on the form. Finally, if the request is successful, the user will be redirected to a Success page.
The Home page simply works as a container for the Story Form as we saw for the Login Form too.
// views/Home.vue

<template>
  <v-container>
    <v-row>
      <v-col>
        <story-form />
      </v-col>
    </v-row>
  </v-container>
</template>

<script>
import StoryForm from '@/components/StoryForm'

export default {
  components: {
    StoryForm,
  },
}
</script>
We also need to add this page to the routes array of the router:
  {
    path: '/',
    name: 'Home',
    component: () => import(/* webpackChunkName: "authenticated" */ '../views/Home.vue')
  },
Here, we are importing the file slightly differently. The view is being imported dynamically, so that it is only downloaded when we visit that page. This is useful as we don't necessarily want to download the whole application in one go before the user has even logged in.
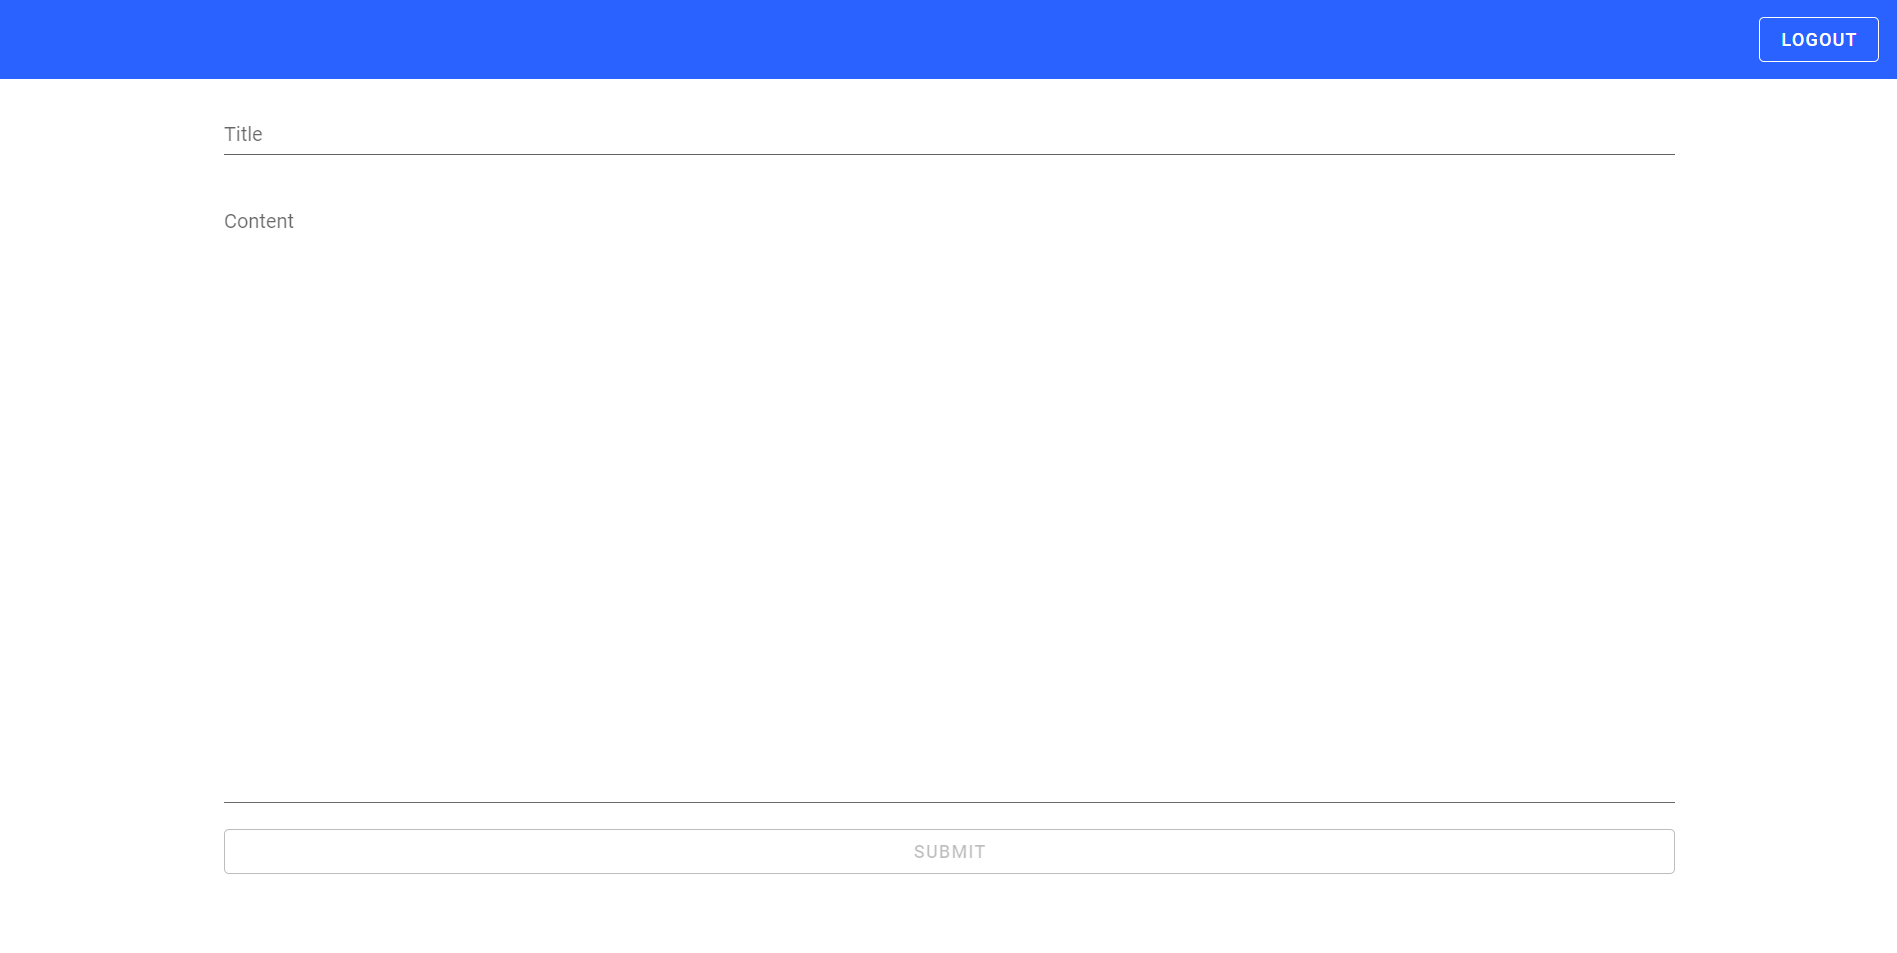
Our home page should now look something like this:
Creating the Hashnode API client
Finally, we have the client for creating the article via the Hashnode API.
// hashnode-api/index.js

import store from '@/store'

async function createStory(title, content) {
    let requestBody = {
        query: `mutation CreatePublicationStory {
            createPublicationStory(publicationId: "${store.state.publicationId}", input: { title: "${title}", contentMarkdown: "${content}", tags: [] }) {
                code,
                success,
                message
            }
        }`
    }

    let response = await fetch('https://api.hashnode.com', {
        method: 'POST',
        body: JSON.stringify(requestBody),
        headers: {
            'Content-Type': 'application/json',
            'Authorization': store.state.apiKey,
        },
    })

    let responseBody = await response.json()

    if(responseBody.errors && responseBody.errors.length > 0)
        throw Error(responseBody.errors.map(e => e.message).join(', '))

    return responseBody.data
}

export default {
    createStory
}
There are a few things going on here, so lets go through them in detail.
Firstly, we create the GraphQL mutation query. From the documentation, we know that we want to use the mutation, createPublicationStory, which posts an article to your blog. It requires as parameters: the publication ID, which we have stored in the Vuex store, and an object containing the title and Markdown content, which we pass from our Story Form. Note that the API also requires tags, but for simplicity we have just passed an empty array here. We are also requesting that the API returns to us code, success, and message properties, which we can use to detect if an error has occurred or not.
Next, we are sending the request using fetch. For GraphQL queries, these are sent as post requests with the query object serialised as JSON. We also must include our API key as an Authorization header, which we can also retrieve from the Vuex store.
Finally, we process the response as JSON, and if there are any error messages, we throw an error. Otherwise, we return the response data from the function.
Getting your API Key and Publication ID
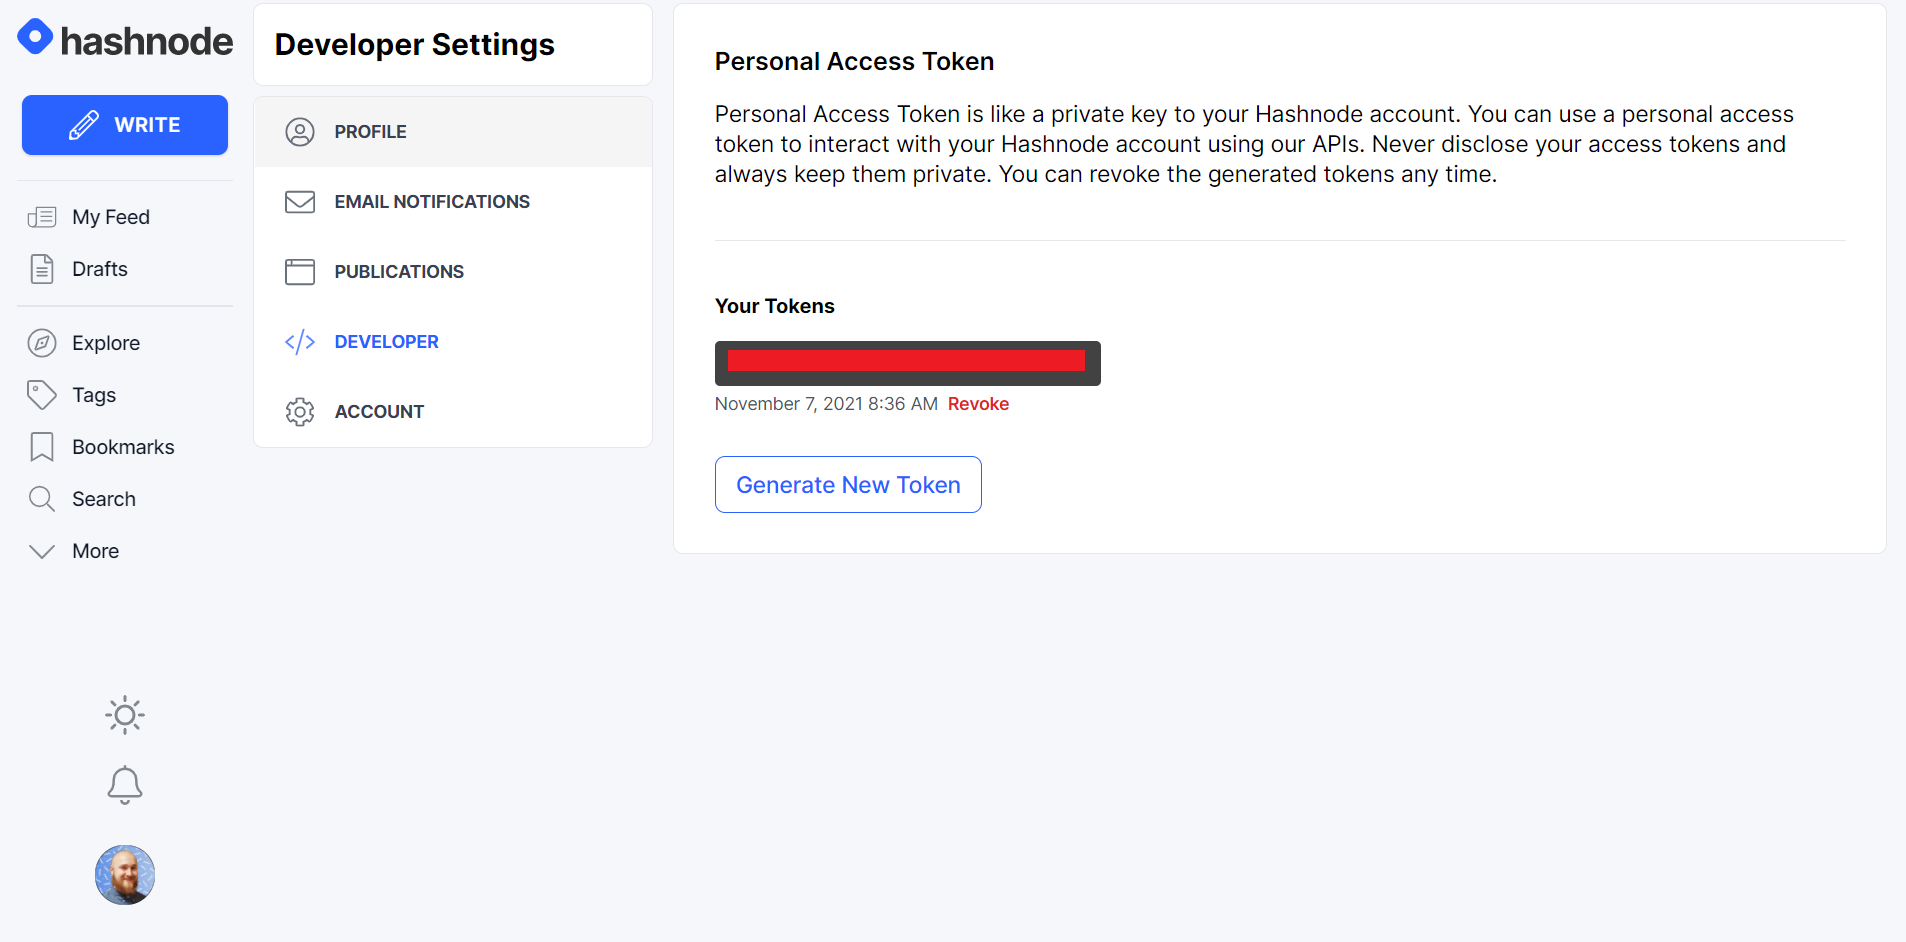
In order to access the Hashnode API and post your article, you need to have both an API key and publication ID.
The API Key can be obtained by going to Account Settings -> Developer and generating an access token.
Your publication ID can be obtained by going to your Blog Dashboard, then copying it from the URL, which will be in this format:
https://hashnode.com/{your publication ID}/dashboardConclusion
Here I have presented how to create articles using the Hashnode API. I hope that you have found this useful to understand better how GraphQL queries work in practice and how to use the Hashnode API.
I think in the future it would be nice to improve the app by:
- uploading images directly via the API
- recalling drafts so that they can be worked on (currently the article is immediately published)
- add tags to the article
What are some other things that you would like to see?
The full repository can be downloaded from here: https://github.com/walpoles93/hashnode-api-poster